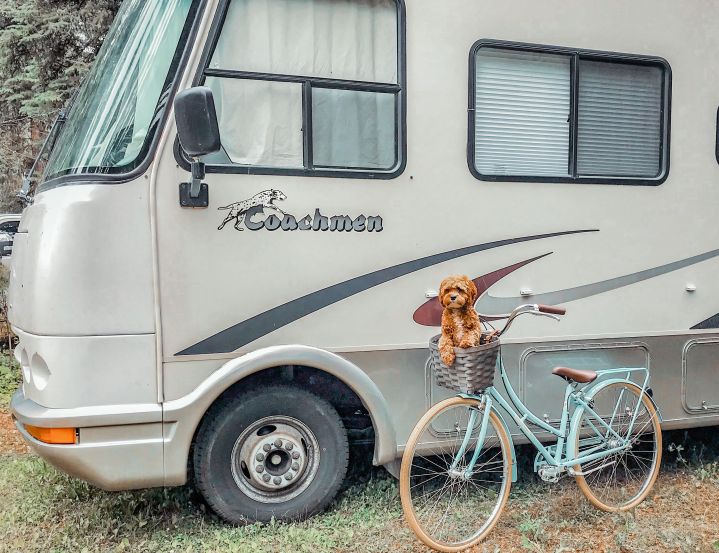

We started off our journey on Kijiji, the year she was born was 1997 and her name was Mirada. I already knew I wanted a motorhome over a trailer – I always pictured myself drinking champagne mimos’s and making Chucutlery Boards in the back while Alec did (most of) the driving. Once we finally got her home the next 3 weeks were filled with long 10 hour days with my close friends Malbec, Cab Sav and Rose´.
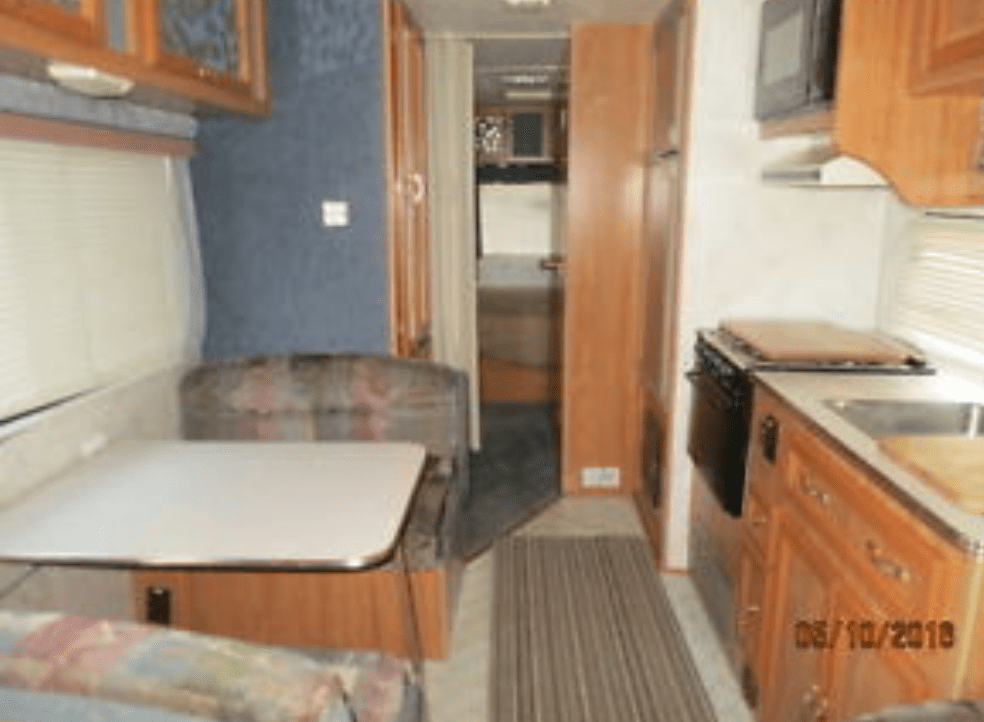
It’s been 3 years since the original gut job I did with the motorhome. Alec originally had gone to look at the motorhome without me while I was working on a pipeline project. He came back and said the price was perfect and we should pursue buying it, I was absolutely thrilled as I had spent the last 6 months searching on Kijiji. I vividly remember the first time I saw it, I thought to myself – what an ugly brown and blue camper, I cannot wait to transform this into beautiful home on wheels. I started explaining to Alec my never ending plans, I’ll paint this white, rip out that, put a table here, new chairs, new sink.. definitely take out this god awful couch… all while he looked at me wide eyed and said –” That seems like a lot of work, I like it the way it is too… if you don’t feel like re-doing it?” I don’t really think Alec knew me yet to the extent of my absolute LOVE of painting everything white and taking something ugly and turning it into beauty.
The Bedroom:
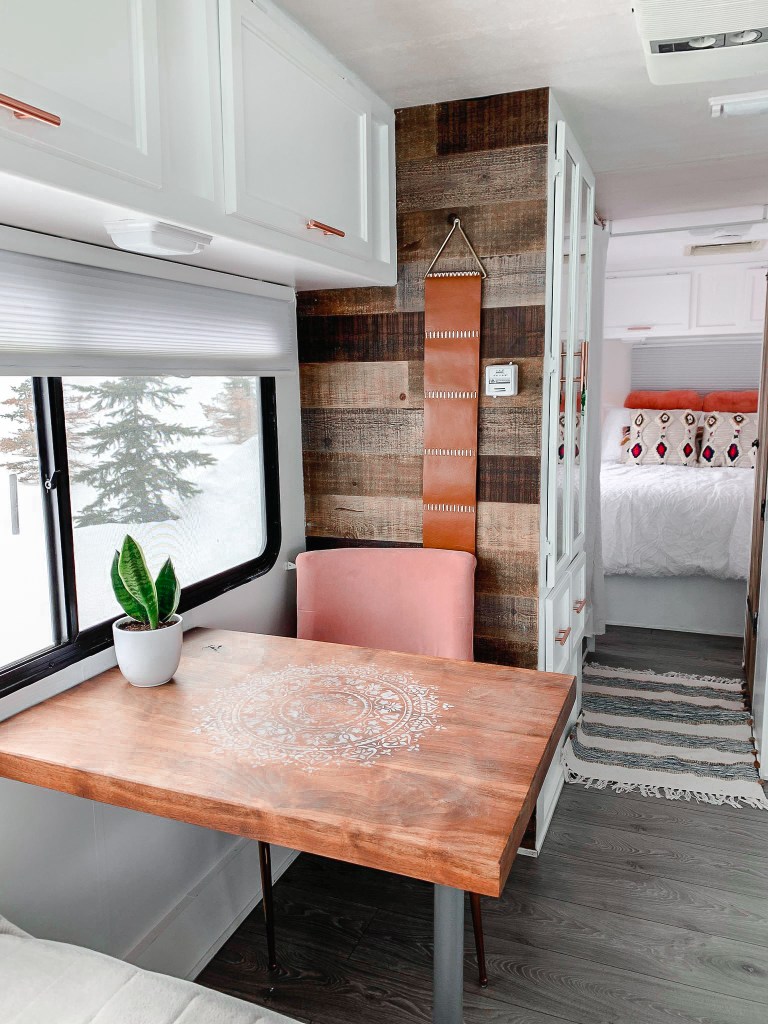
This is my absolute favourite place – this specific room. At first my mind was racing with the direction I wanted to follow in regards to design. I thought all white, sleek, mid modern which is basically my house goals. Then I decided I wanted the motorhome to be a bright happy place – something fun and out of the ordinary. Essentially wanted it to feel like we were always camping in a California Desert, with bohemian accents and an abundance of textures. I think I accomplished my goals.

Color: Flamingo Feather, Brand: Behr, Finish: Semi Gloss
Decorations: Pillows, Throws, Comforter – Anthropology
Accents: Winners
Custom Made Locally: Wood panels
Cutest Dog Alert: Mowgli – Cavalier/Poodle
The Bathroom:
The bathroom makes me laugh. If I posted a picture for eveyrtime I changed the color there would be about 8… I tried grey with flower wallpaper, grey with stone wallpaper, mint green with an art wall (who did I think I was that I could paint actually daisies, lol), emerald green… all to get to where I am now. I painted. everything. white. Realizing the space is too small for bright and outrageous. White is the only way, so I’m currently working out a plan to make this little space work within the rest of the design.
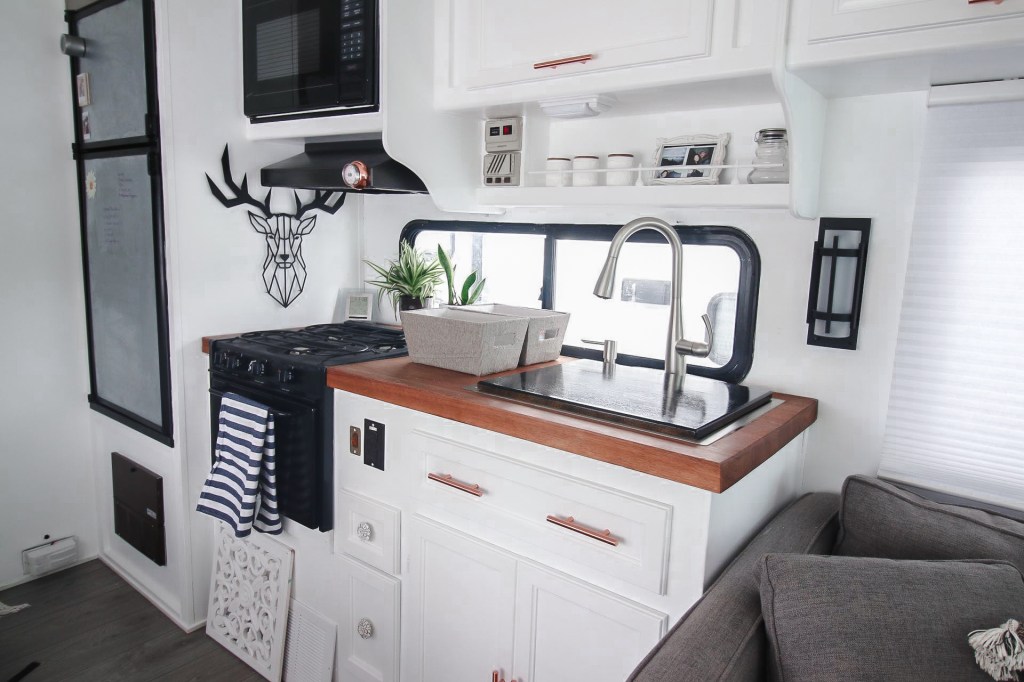
The Kitchen:
This part of the motorhome had a pretty major overhaul. The countertops were taken out – Stove is original to the motorhome however, I spray painted the top recently from a beige to black. Spray paint was rated for extreme heat so we have no issues with cooking. We installed a large, deep sink which caused us to loose a lot of storage underneath but I think it is totally worth it. Along with the sink shiny new faucet was also replaced and a new light fixture. The fridge was a super easy fix I found online and will go into further detail below.
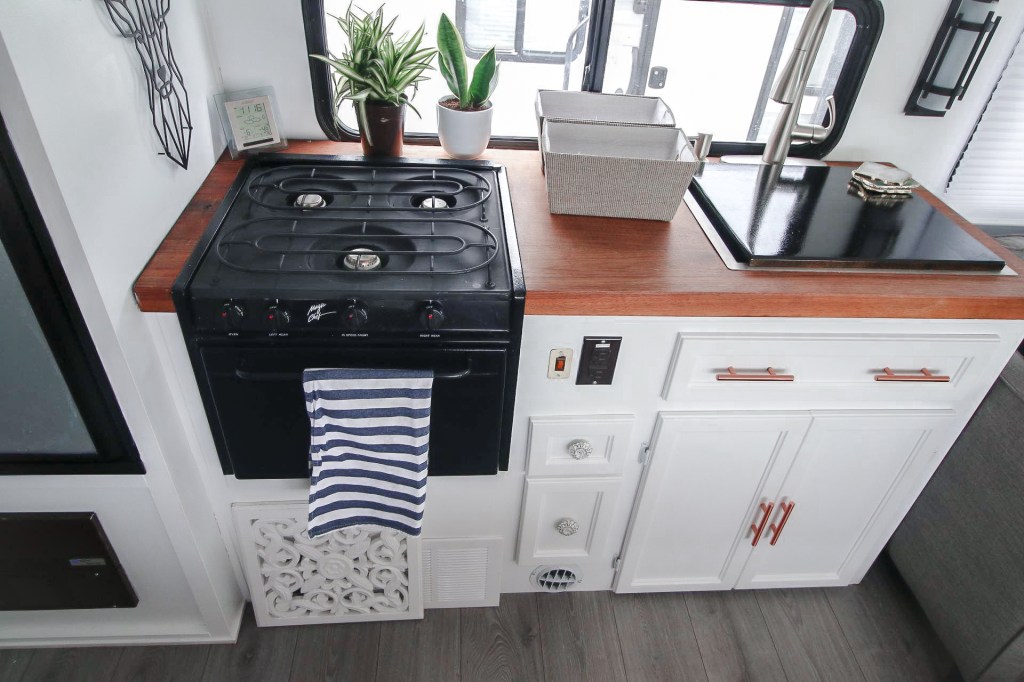
Details on the Fridge: Like most projects I’ve completed in the motorhome I started with painting the thin wood sheets with chalk paint which was a complete disaster. Upon research on DIY RV Renovation sites I found out that these panels are easily removed by snapping out some plastic trim and removing 3 screws and a pin at the top of the door. What I discovered is we would need to remove the entire fridge door in order to get the panel out. Only to get the fridge door off we would first need to remove the freezer door.That could be done by first removing the pin at the top corner of our freezer door with a wrench and a pair of pliers (or you could use two wrenches). I couldn’t figure out how to get the doors off, so I looked at our Dometic manual and some youtube videos.
From here I masked off around the trim and painted with black spray paint for plastic and traced old panels onto galvanized steal and cut to shape for the new inserts that slid right in to replace the wood panels.
- 26 gauge galvanized steel
- Aviation Snips
- Yardstick/Measuring Tape
- Dry Erase Marker
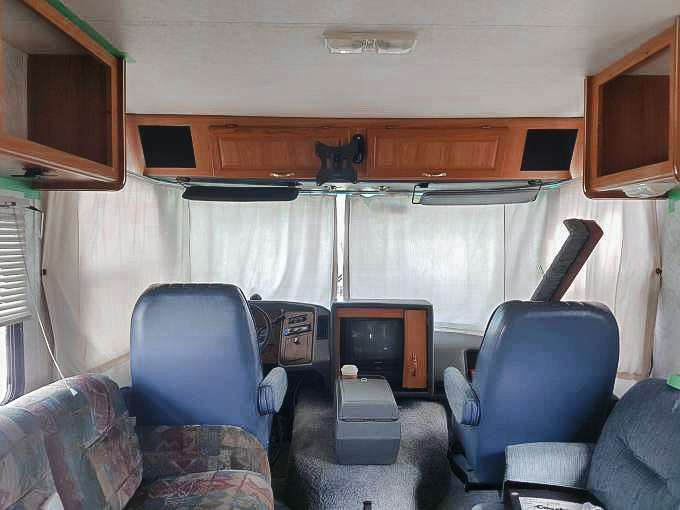
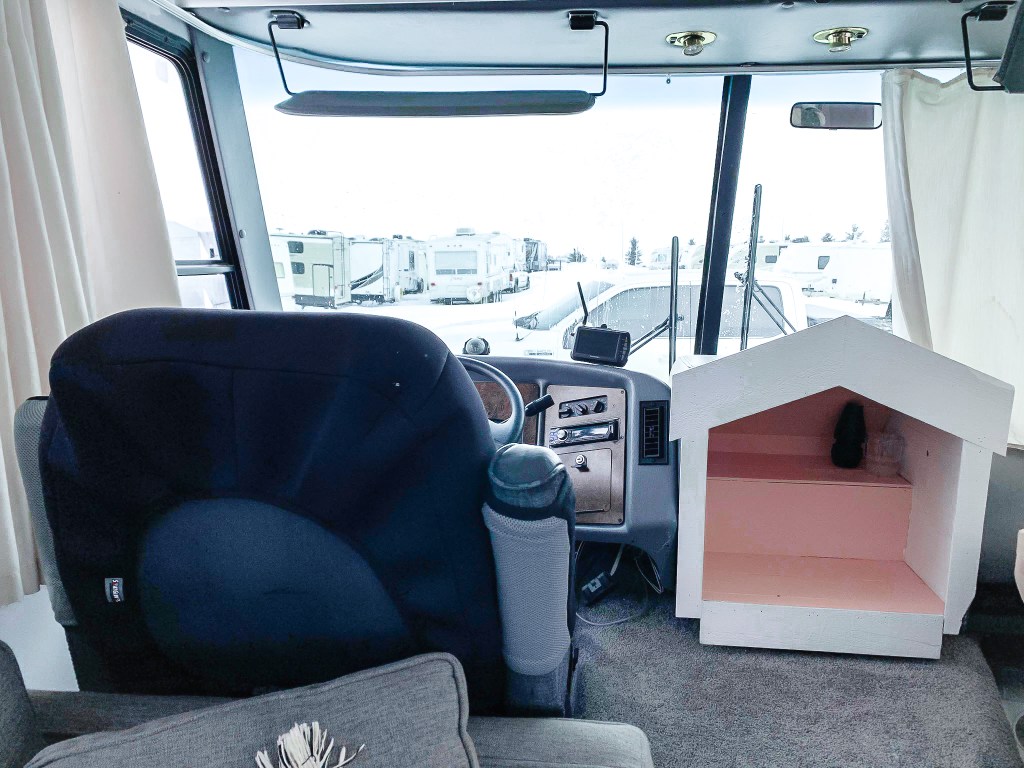
The Front:
The carpet was the first thing to go, I found a man who could instal the piece of carper I got on liquidation. Next, a dog house was built for a dog I didn’t yet have – who turned out to be a lot bigger than the tiny dog house we constucted. I think it gives it character and we currently use it to store dog toys eventually I’d like to built an area inside for drinks while driving (the non-alcoholic sort).
Sadly, I fell for an absolute disaster of a craft on a RV Renovation Face-book group. The lady had used highly diluted chalk paint with water to paint 20+ coats onto fabric to change a drab RV cushions into a fabric that looked brand new! WOW, I thought – what an easy solution to transform these old chairs. Can you say too good to be true? After applying 4 coats I quickly realized that her paint must have been much more diluted than my mixture and my chairs were completely – Crusted. I’m not over exaggerating either, when they were first done Alec and I moved the motorhome and he actually cut his arm on the fabric. Ugh, so now we have these ugly overpriced chair covers that whenever we use the motorhome I’m forever draping pretty blankets to hide my major mistake. I’m currently cruising Kijiji for reasonably priced replacements. New cost upward of $1000 each plus shipping. So let that be a lesson to everyone.
The Middle: